Last week Jason and I went to a beer tasting and I was asked to bring the nuts. I thought of some spicy maple nuts that I make for a strawberry salad and decided to use that as a base and go from there! Well, I was asked for the recipe for the nuts several times that night, so I think they were ok! Anyways, I thought I’d share the recipe because they are uber easy to make. If you plan ahead and have all of the ingredients on hand, these seriously take like 10-15 minutes to prepare.
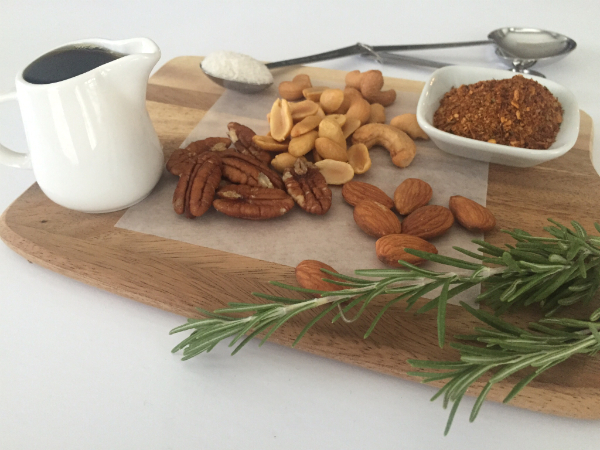
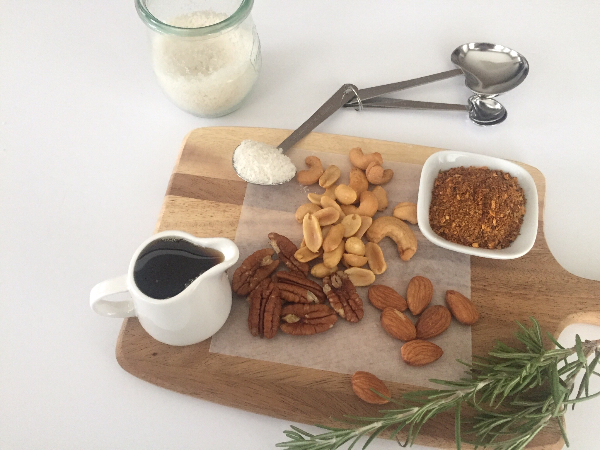
- 1 cup almonds
- 1 cup cashews
- 1 cup peanuts
- 1½ cups pecans
- 3 Tablespoons fresh chopped rosemary
- ⅓ cup real maple syrup
- 2 Tablespoons cajun seasoning
- 2 teaspoons fleur de sel
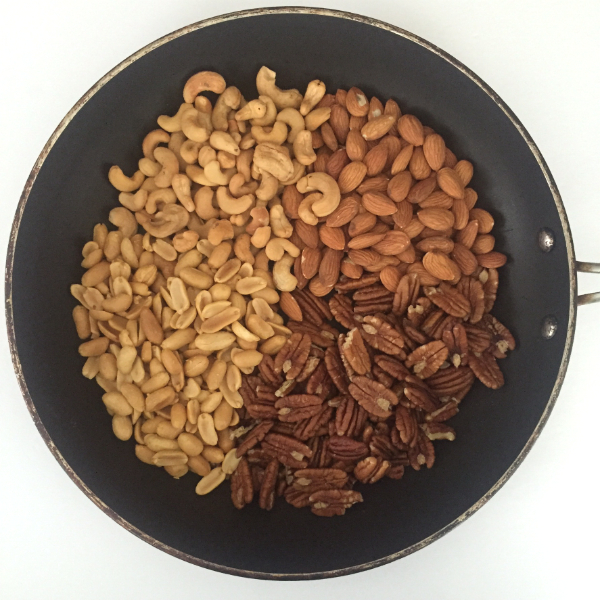
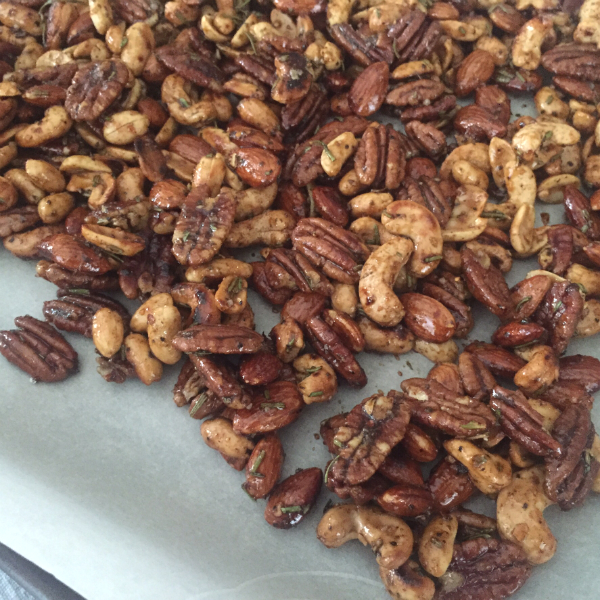
- Put nuts in a frying pan and toast them over medium heat, stirring often to avoid burning.
- Add the freshly chopped rosemary, stir and allow the heat to release the oil from the rosemary.
- Add the maple syrup and stir.
- Add the cajun seasoning. Stir to coat all of the nuts with the maple syrup mixture and add the fleur de sel.
- Stir and let the maple syrup mixture thicken then and remove from heat.
- Pour the nuts out onto a parchment lined cookie sheet and allow to cool.
- Once cool, break up clumps with a wooden spoon.
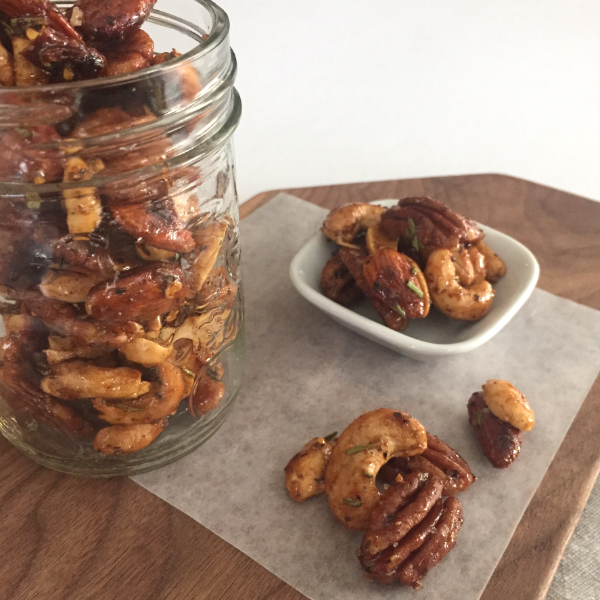
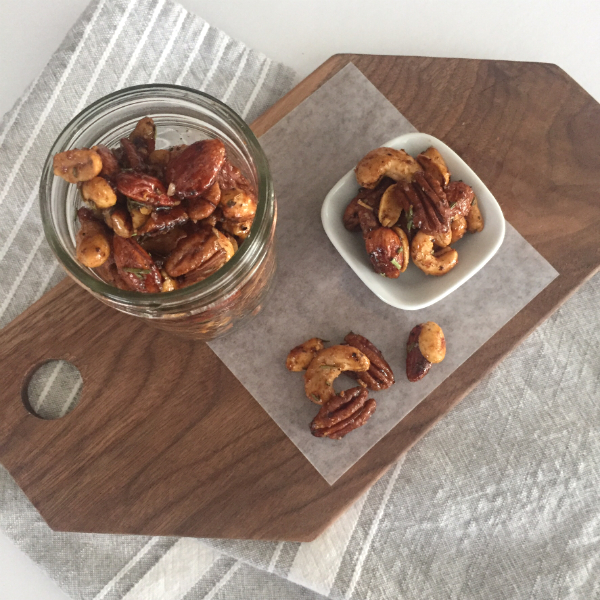
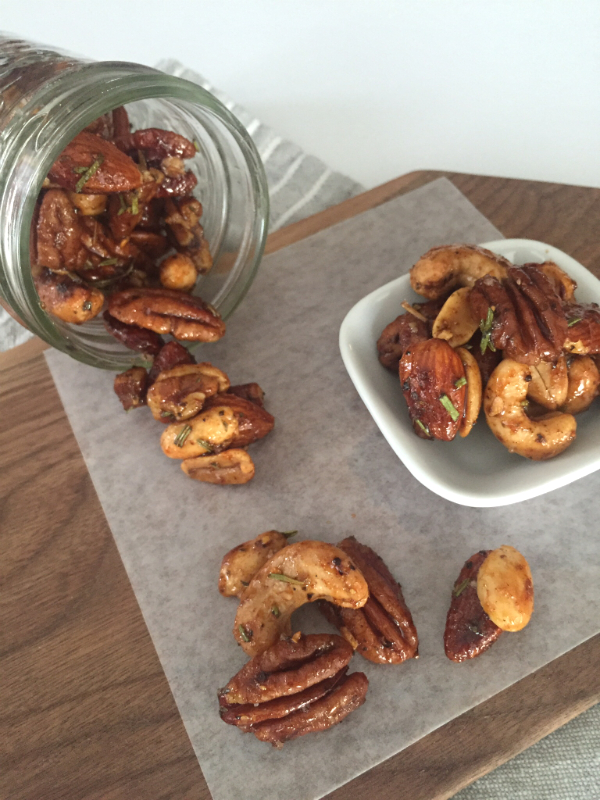
- Enjoy or store in an airtight container for up to 5 days.
These are great with drinks and appies during the holiday season. Or put them in a jar for a hostess gift. You really can use any combo of nuts that you like. Nuts can be expensive. I usually buy the Joe’s Travels bags at Walmart. Make sure to use nuts that are unsalted. For the seasoning, I use Clubhouse Cajun Seasoning. I like this mix because it isn’t super spicy and most palettes are good with it!
Trust me…these will be a big hit at any Christmas party you bring them to. Enjoy!