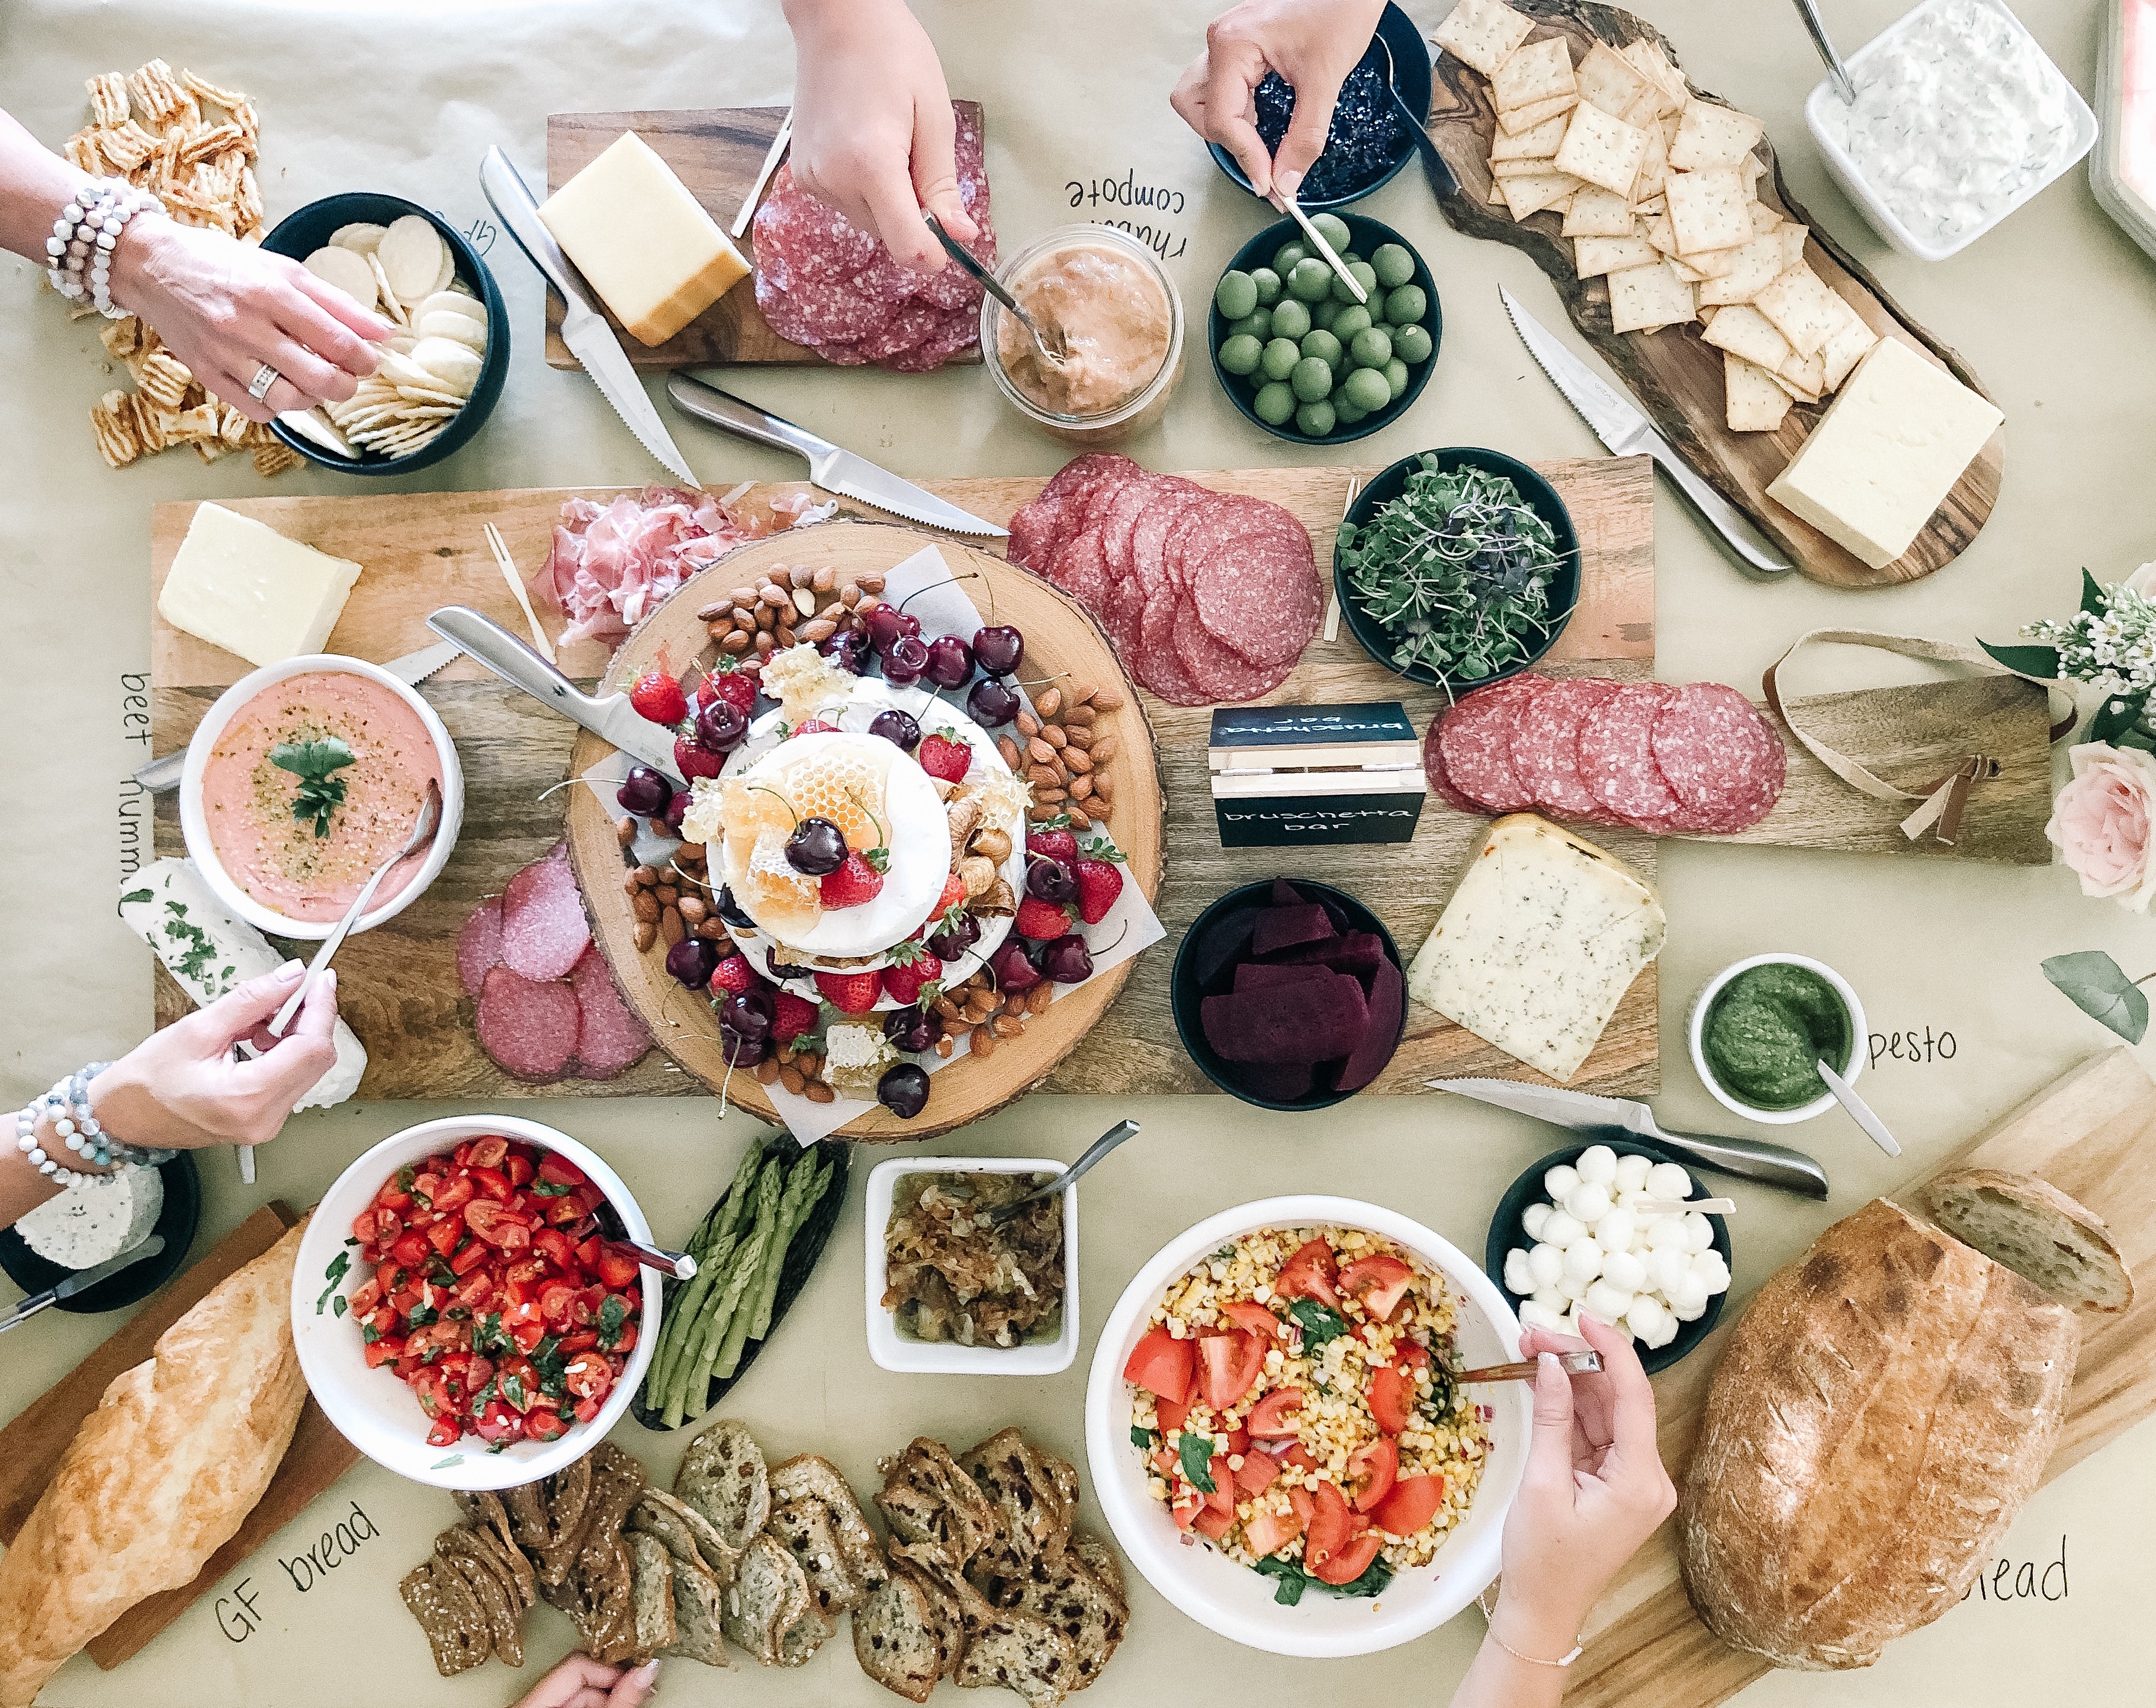
Laurel and I have been somewhat absent on the blog for a while! It’s been a busy few weeks and we are going to be away for Christmas, so our window to get our shopping done has been a lot tighter. We’ve also been trying to cram in some Christmas activities before we go…concerts, parties, media events, dinners, light festivals…

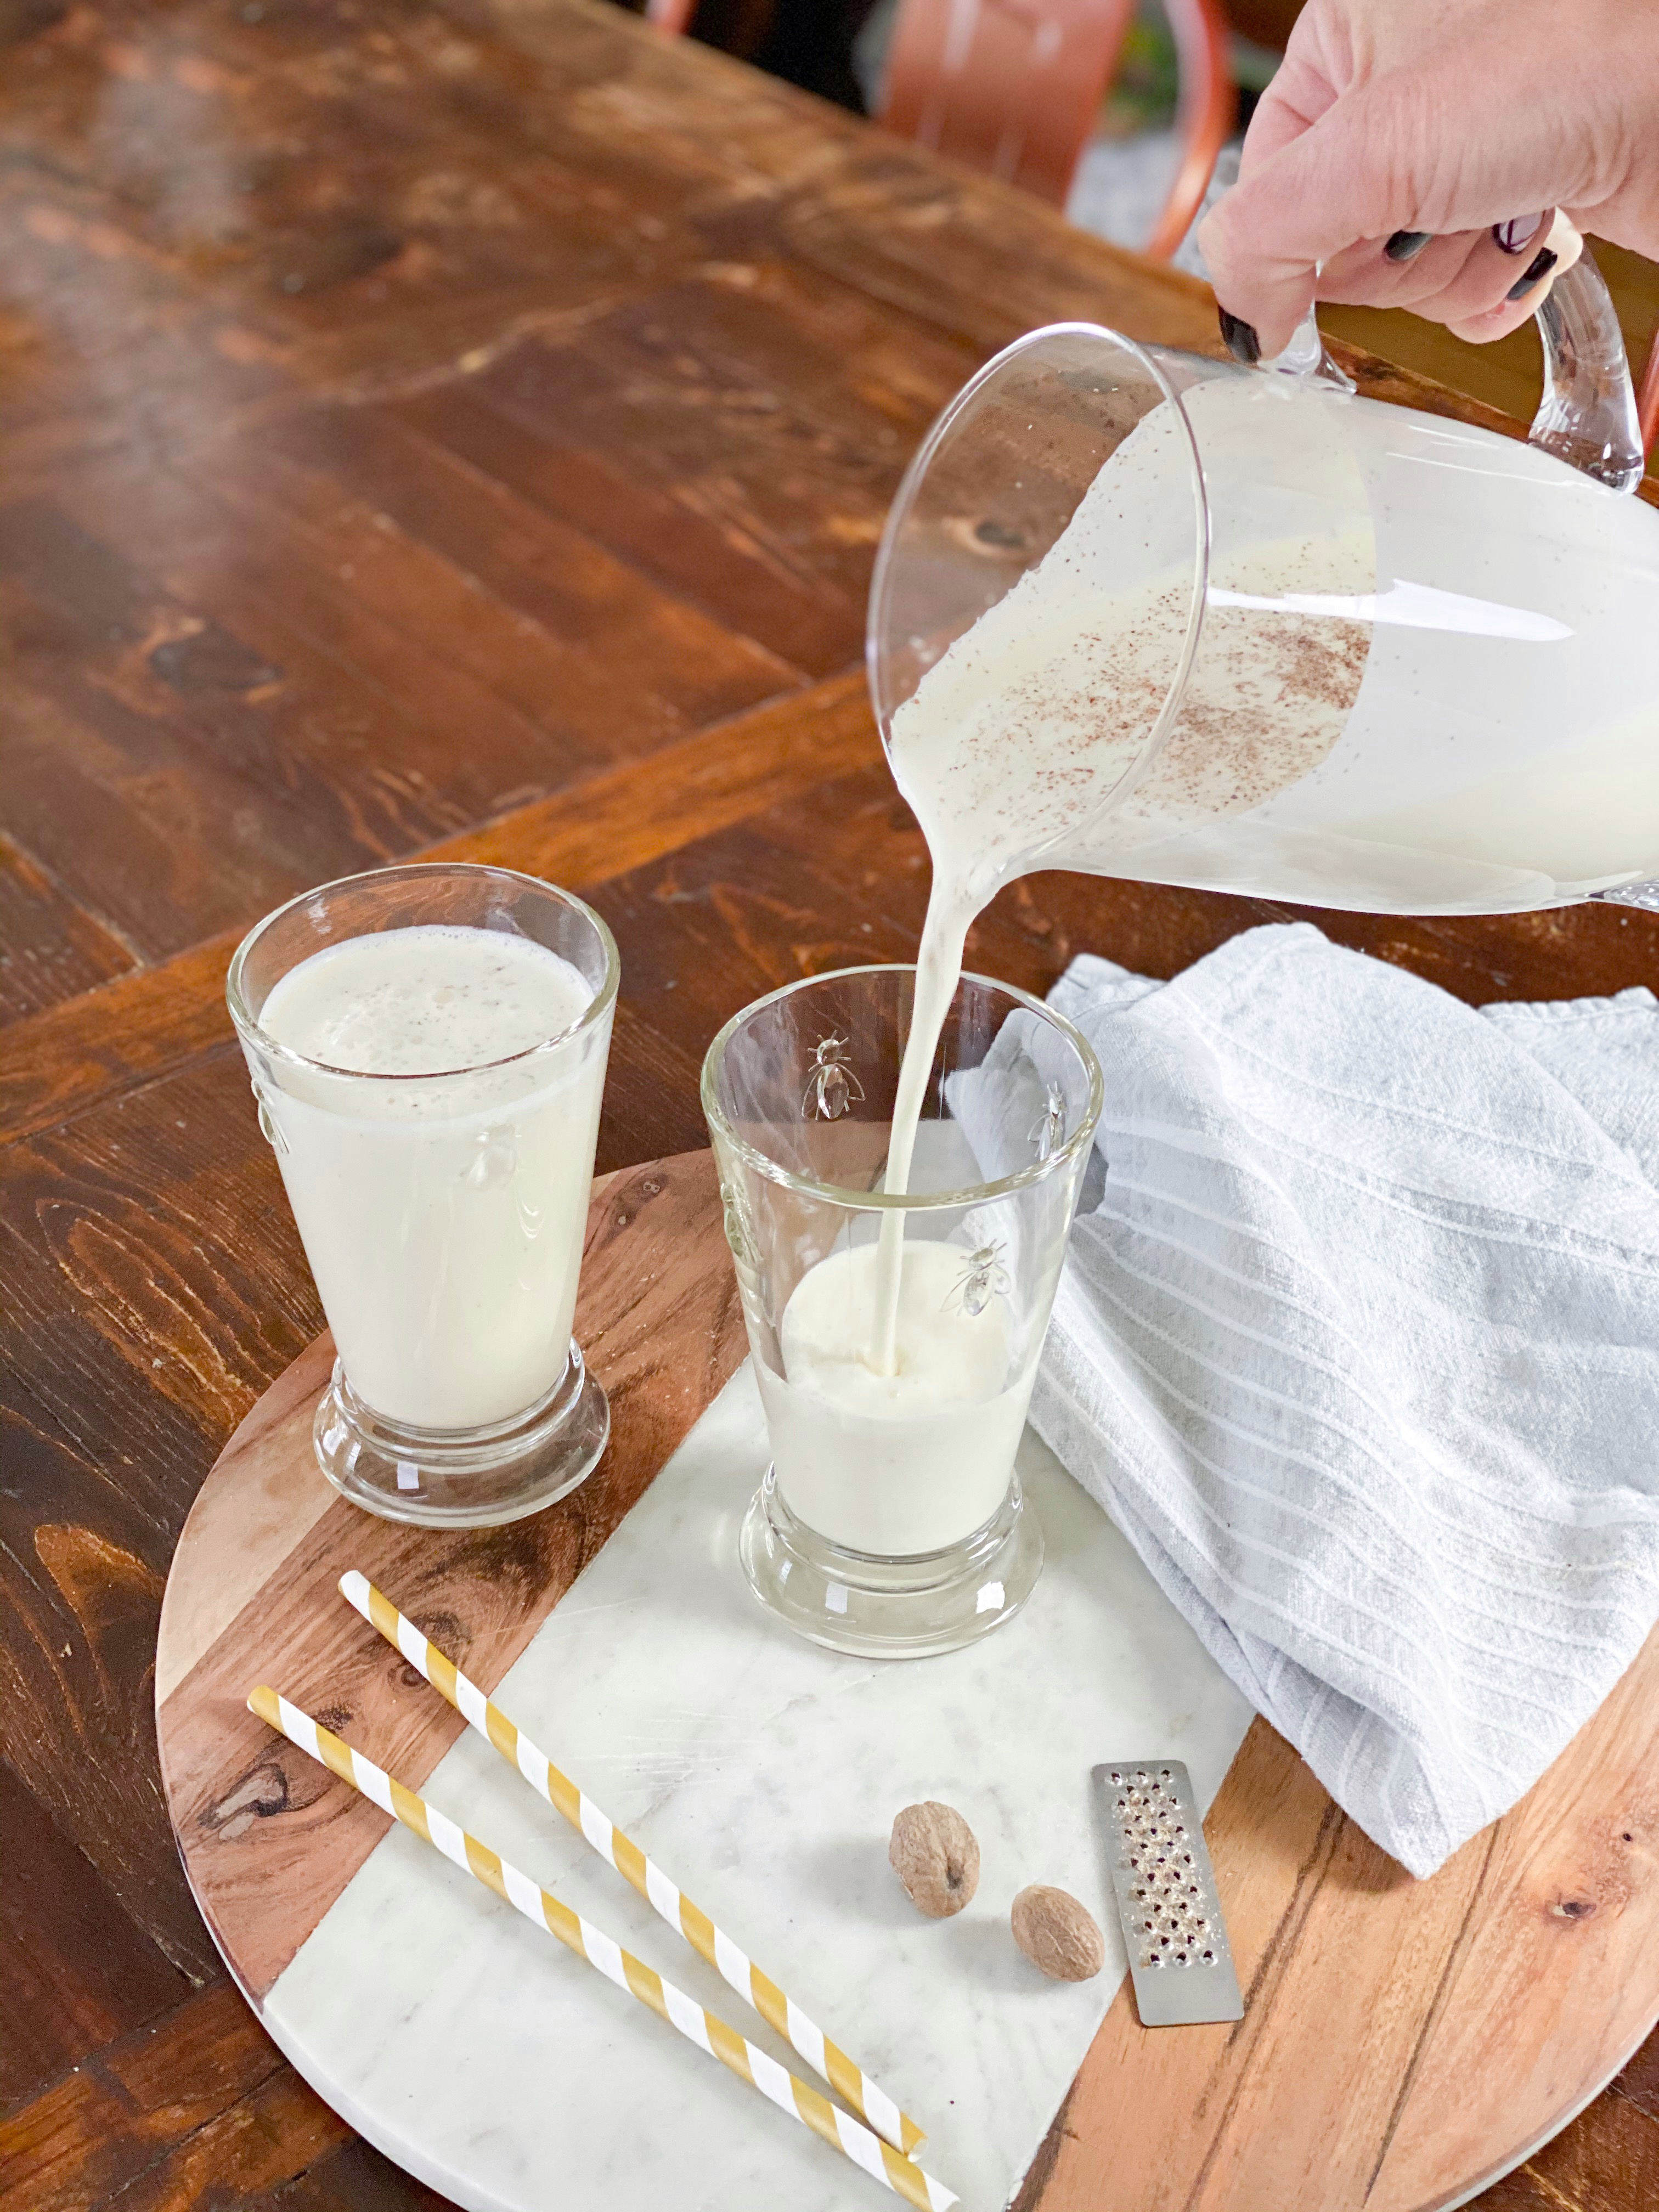
Recently, my mom’s homemade eggnog came to mind. It’s somewhat of a family secret recipe, but I’m going to let you in on it! I remember as a little girl that she and my aunt would make it in huge batches for my dad and uncle’s company Christmas party. Everyone at the party would rave about it and I knew that I could hardly wait to be old enough to try it!

- 6 eggs*
- ¼ cup honey
- 2 cups cold milk
- 1½ teaspoons pure vanilla extract
- ½ cup apricot brandy
- 1 quart vanilla ice cream
- 1 cup whipping cream, unwhipped
- 4 cups club soda
- Nutmeg, freshly grated
- Take ice cream out of freezer and let melt a bit.
- Beat the eggs vigorously with a whisk.
- Heat the honey just slightly and add to the eggs, whisk well. Watch that the eggs don’t cook.
- Add the milk, vanilla extract and apricot brandy. Mix well.
- Add the partially melted ice cream and stir.
- Top off with club soda.
- Add freshly grated nutmeg on top!

There was always a lot of talk about how much brandy would go into the eggnog, so the generosity of the pour is up to you! Also, with all the the cream and ice cream, this isn’t for the faint of heart and is definitely an indulgence and a once of year kind of thing!
Warning….I’m gonna say that there’s nothing like this nog. You will never be able to have that stuff out of a carton again!
I would recommend using a high, quality vanilla ice cream, such as Haagen-Dazs Vanilla.
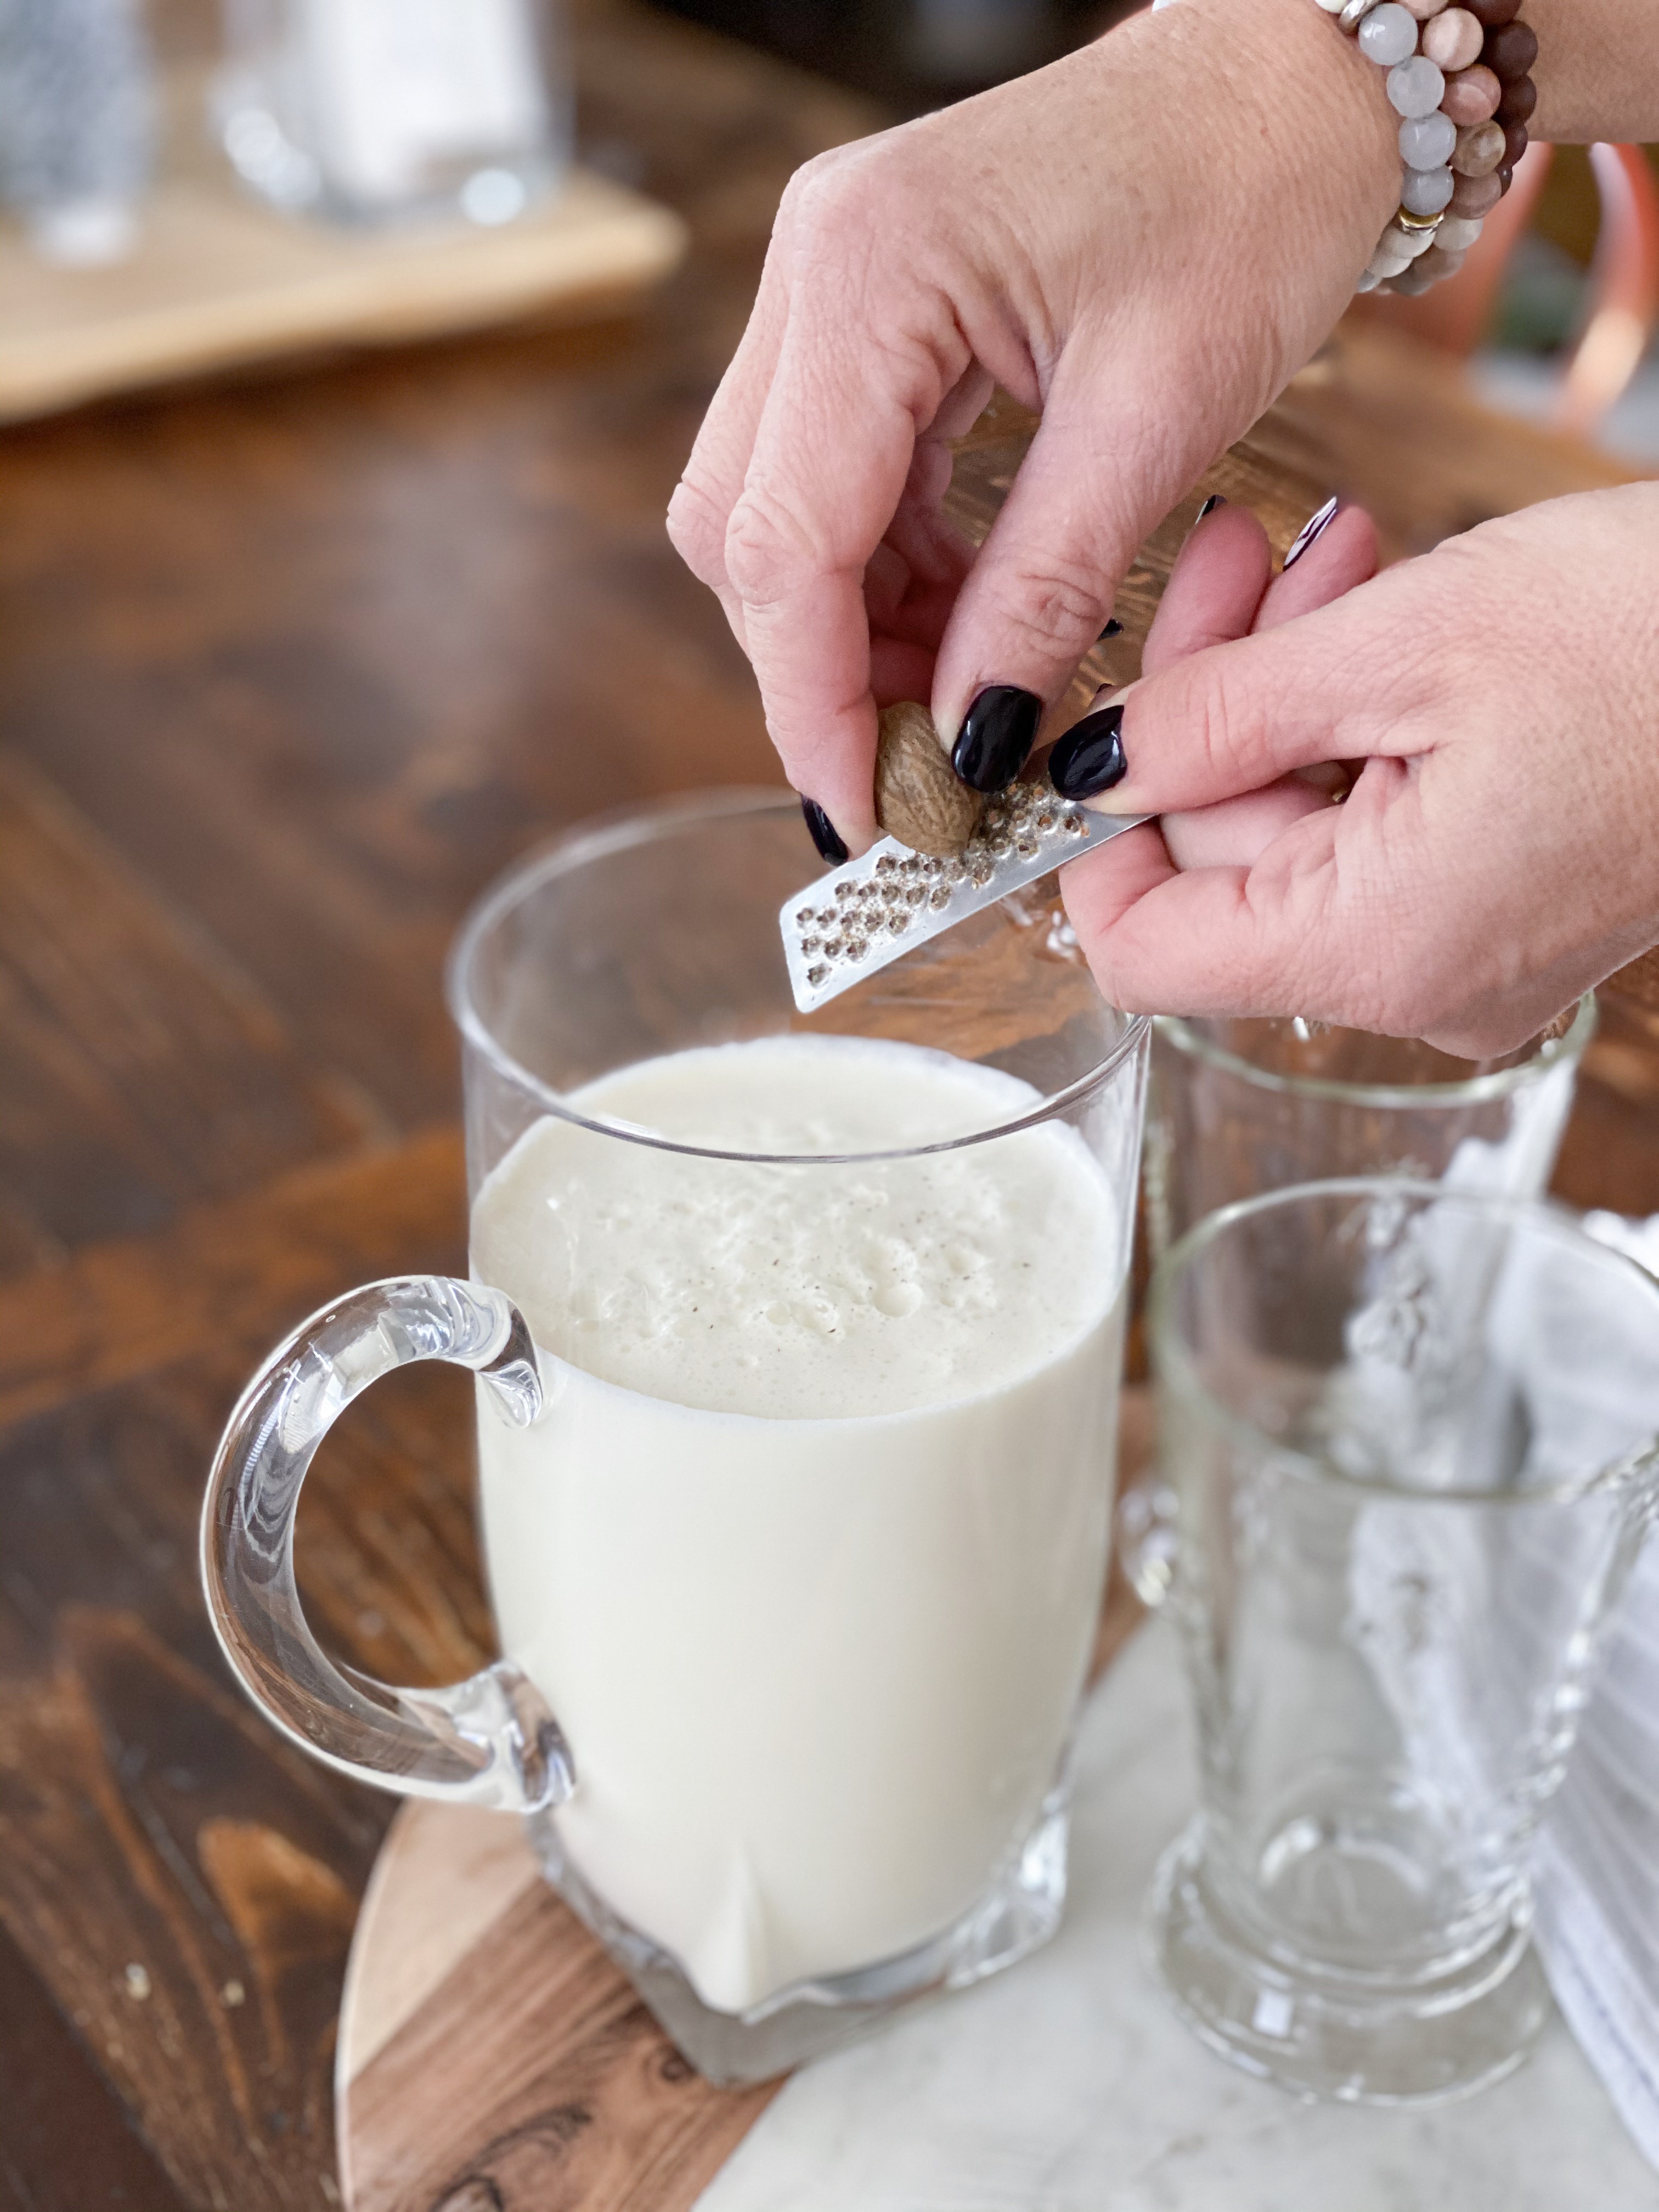
The freshly grated nutmeg is a note added by me! It wasn’t a thing back then, but it is now readily available and it tastes so much better….and it’s kinda fancy too! My mom always added 7-Up, but after tasting it this year, I added club soda instead and found it plenty sweet enough!
So, I’m going to take a minute, be nostalgic and enjoy a cup, now that I’m old enough to!

*When properly handled, raw and lightly cooked Canada Grade ‘A’ eggs are not a concern for healthy individuals. There is, however, a high-risk segment of the population that should avoid eating eggs that are not thoroughly cooked. This includes: people who are suffering from a disease or whose immune system is compromised, very young children, the elderly and pregnant women.
For more information, see here