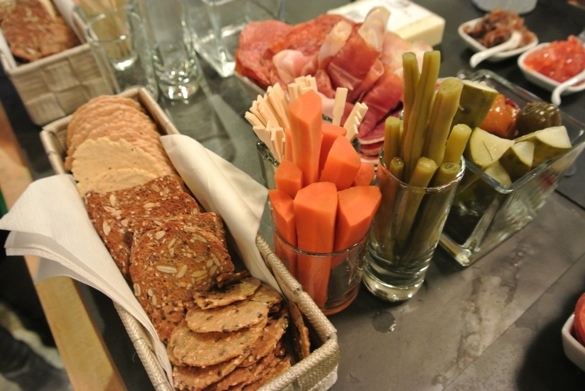
In preparation for our cooking class at Lepp Farm Market I was looking for interesting ways of serving cheeses, meats and pickled veggies as they carry an amazing assortment of all of them, often from local producers and suppliers (we LOVE that!). There really is no simpler way of entertaining….use ingredients that you may have picked up and present them in an appealing way! I’m all about reducing stress and saving time over the holidays!
I found a way to make a slate tile into a serving tray! My inspiration came from here. This site also gives you great care information.
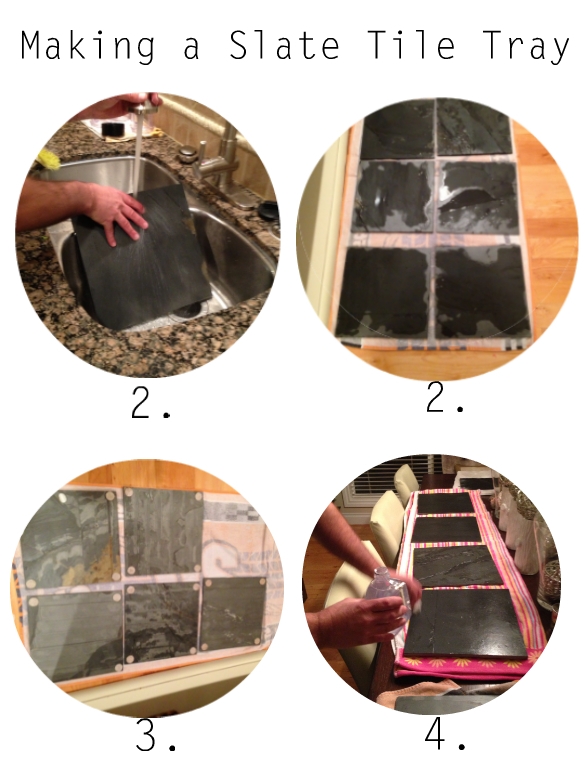
- I bought black slate tiles from Home Depot for $1 each. If you are able, try to pick out tiles that are as smooth as possible.
- Scrub the tiles well and let sit over night to dry.
- Put sticky felt floor protectors on the back (one in each corner). I bought mine at the dollar store.
- Rub the top surface and sides of the tile with a layer of food safe mineral oil. I bought mine in the pharmacy section of Walmart. Let dry overnight.
- Add a second and even a third layer of mineral oil if necessary in order to seal the tile, ensuring that the oil dries in between coats.
- Rub off excess oil and voila…you have an inexpensive serving tray!
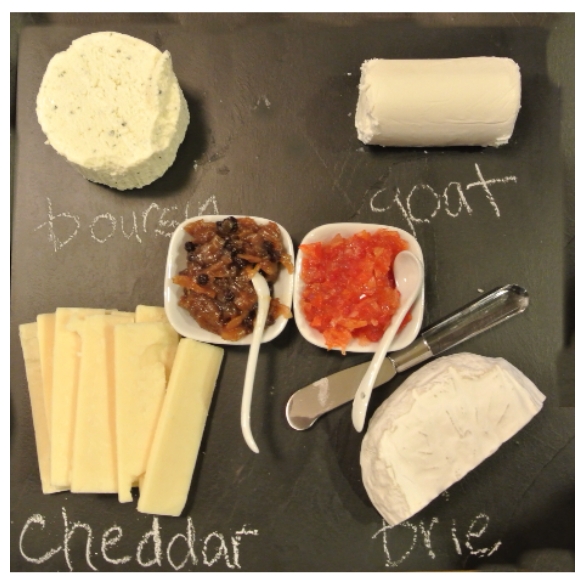
Here’s what I really LOVE about these tile trays….you can write on the slate trays with chalk, so you can label your cheeses, meats, etc!
This makes the most perfect hostess gift!! Just add a package of napkins or rustic tea towels, wrap up a few pieces of nontoxic chalk with raffia and you have a hostess gift for around $5. If you are going to be attending several events over the Christmas season, make a few of these tiles at one time and well in advance of your parties as you need to allow a few days for drying.
Crate and Barrel sells slate boards from $10 for a small one to $30 for a large one.
Here are some other great tips for presentation….
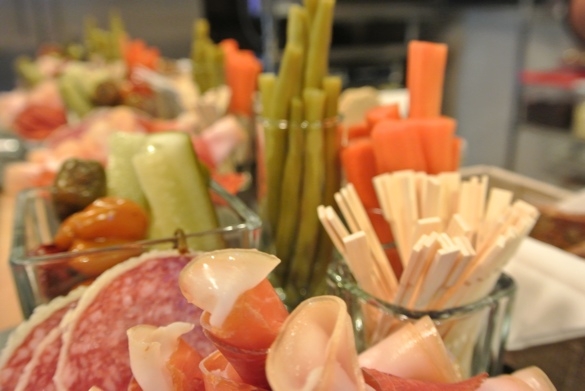
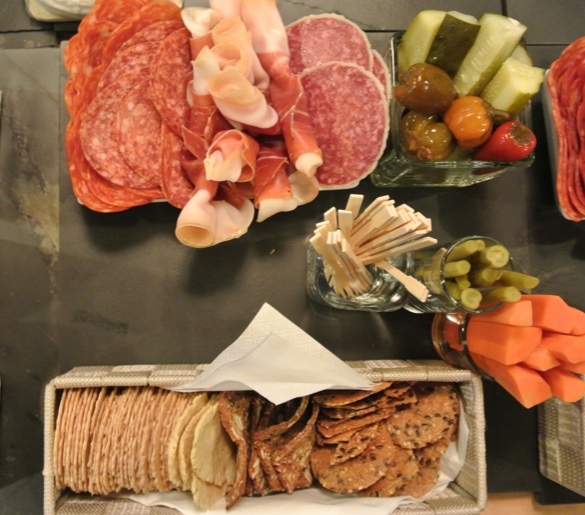
- I keep the glass from my votives and look for other glass candle holders, vases and shot glasses from dollar stores to hold pickled veggies (or for fresh veggies as well).
- I used $2 baskets from the dollar store for the crackers.
- We included red pepper relish (click here for Laurel’s post on this recipe) and caramelized onions (look for it in an upcoming post) on the cheese platters. We ensured that these could pair well with all of the cheeses we included. The small dishes and spoons came in a set of 3 from, yes again, the dollar store (Dollarama in this case).
To serve larger groups, just push two tiles together and you’ll have greater surface area to display more yummy snacks.
This is an extremely simple and inexpensive project that even those who are craft-impaired (yup, that’s me!) can do! Well, Jason actually did these for me, but I’m pretty confident I could do it;)
