
One thing that I noticed when I was in Toronto is that breakfast cookies are a “thing”. Most coffee shops had their own version…some healthier than others I’m sure. I’m a sucker for dense, hearty cookies, so I tried quite a few. Now we are back to school (has everyone survived the first week or two?) and I often struggle with healthy things to pack in Mac’s lunch. If he had his choice, he would take a PB & J sandwich every day, but with allergies these days, that’s not an option. When I was checking through my emails the other day, I came across one from Fraiche Nutrition with healthy lunch box ideas. These Pumpkin Pie Breakfast Cookies caught my eye as the kids are all about PSLs these days! These are packed with nutrient rich foods and are high in fibre. They are perfect for healthy lunches, grab and go breakfasts and snacks with staying power. They are so much better for you than other pumpkin treats…and they are nut-free!
I made just a few changes to the recipe. Don’t let the long list of ingredients scare you away. These come together very quickly in one bowl. And you don’t have to use gluten-free flour.
- 1 egg
- 1 cup canned pumpkin puree (not pumpkin pie filling)
- ¼ cup maple syrup
- 1 tsp. vanilla
- ¼ cup melted butter
- 1 cup large flake oats, gluten-free
- 1¼ cup Bob's Red Mill all purpose gluten-free baking flour
- 2 tsp. ground cinnamon
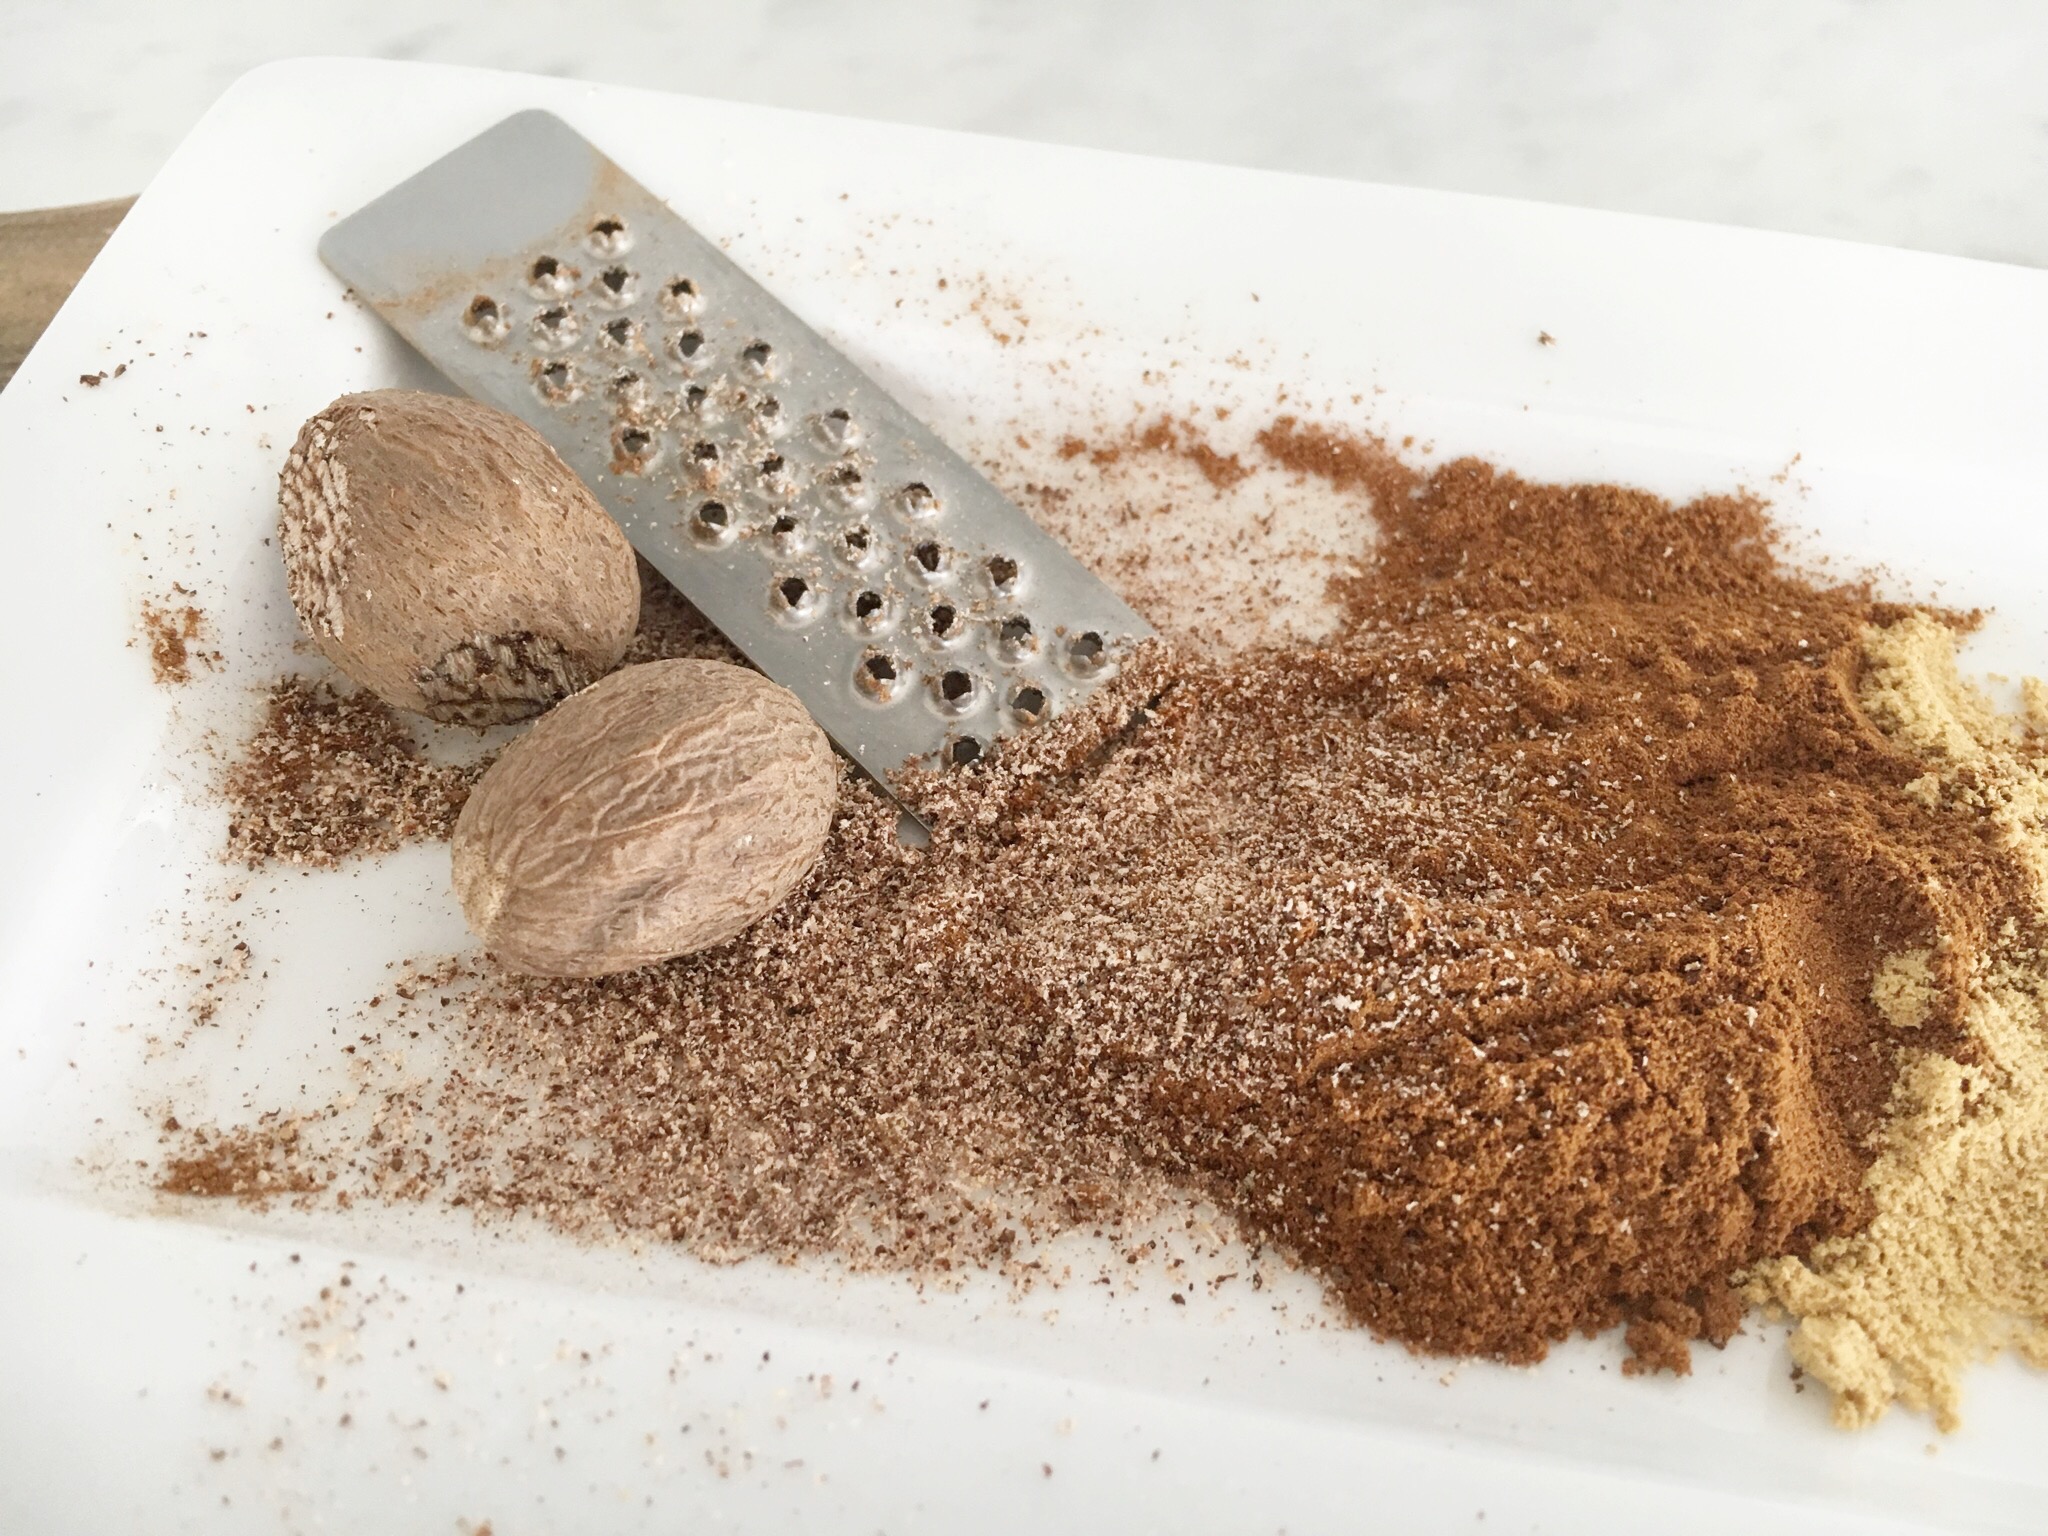
- ½ tsp. nutmeg
- ½ tsp. ground ginger
- 1 tsp. baking soda
- 1 tsp. baking powder
- pinch of salt
- ⅔ cup dark brown sugar
- ¼ cup hemp seeds
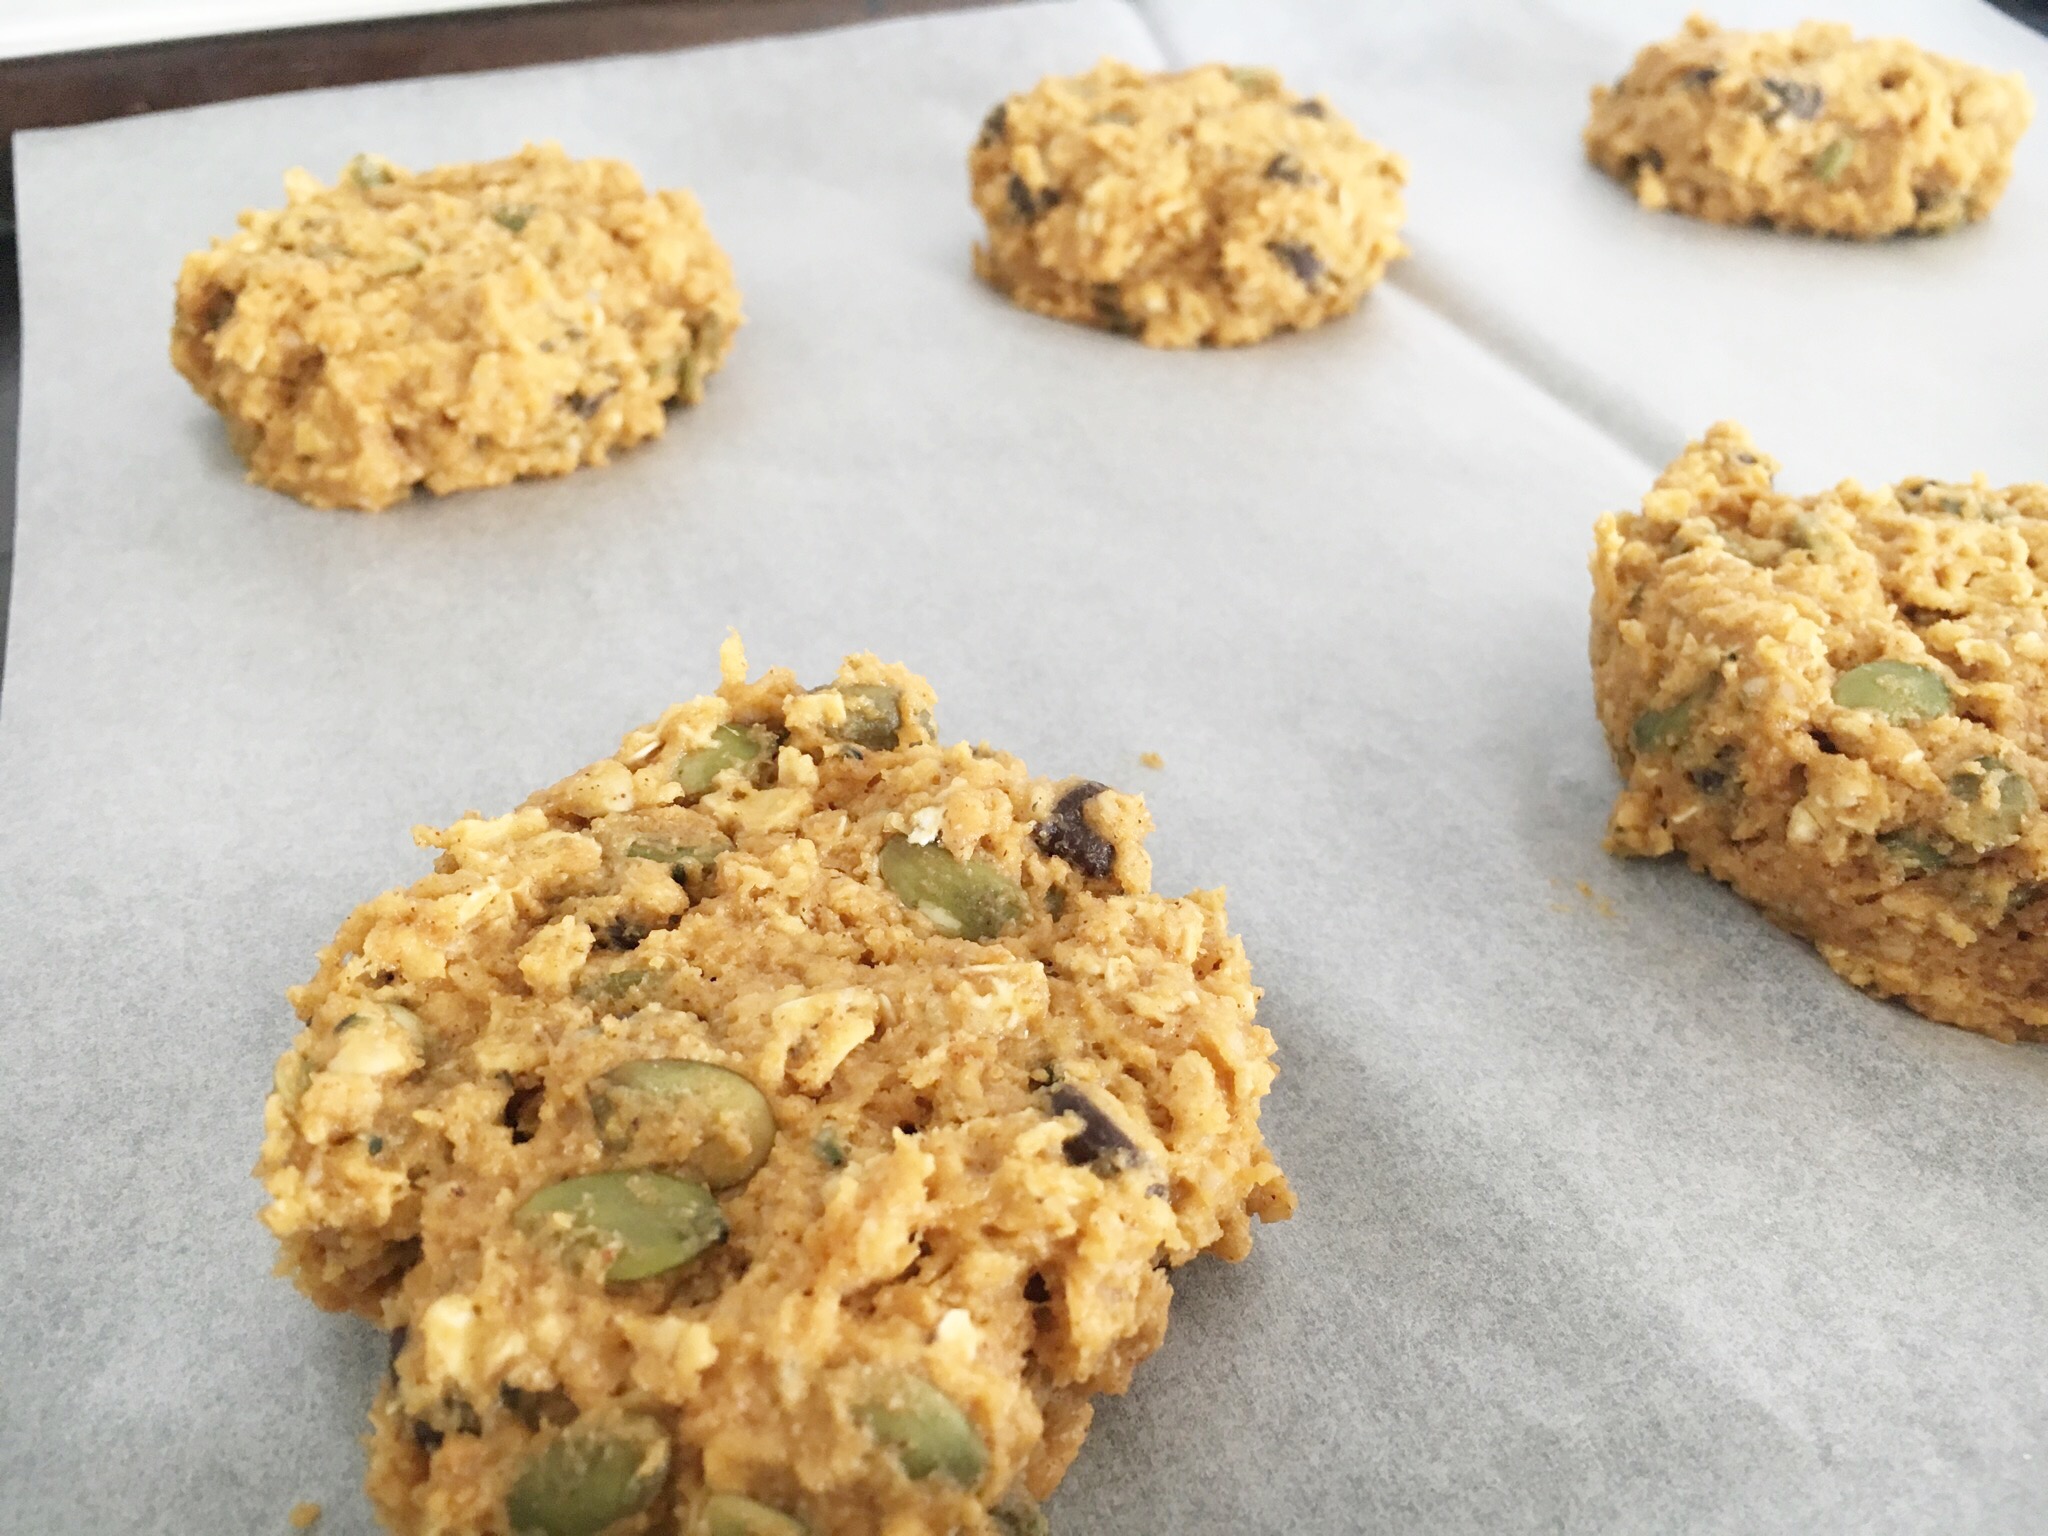
- ⅔ cup pumpkin seeds
- ⅔ cup chocolate chips or dried cranberries
- Preheat the oven to 325F.
- Line a cookie sheet with parchment paper.
- In a large bowl, combine the egg, pumpkin puree, maple syrup, vanilla and butter.
- Whisk until mixed.
- Add all of the remaining ingredients. Fold together with a rubber spatula until the wet ingredients are fully mixed into the dry ingredients (try not to over-mix it but make sure it is fully combined).
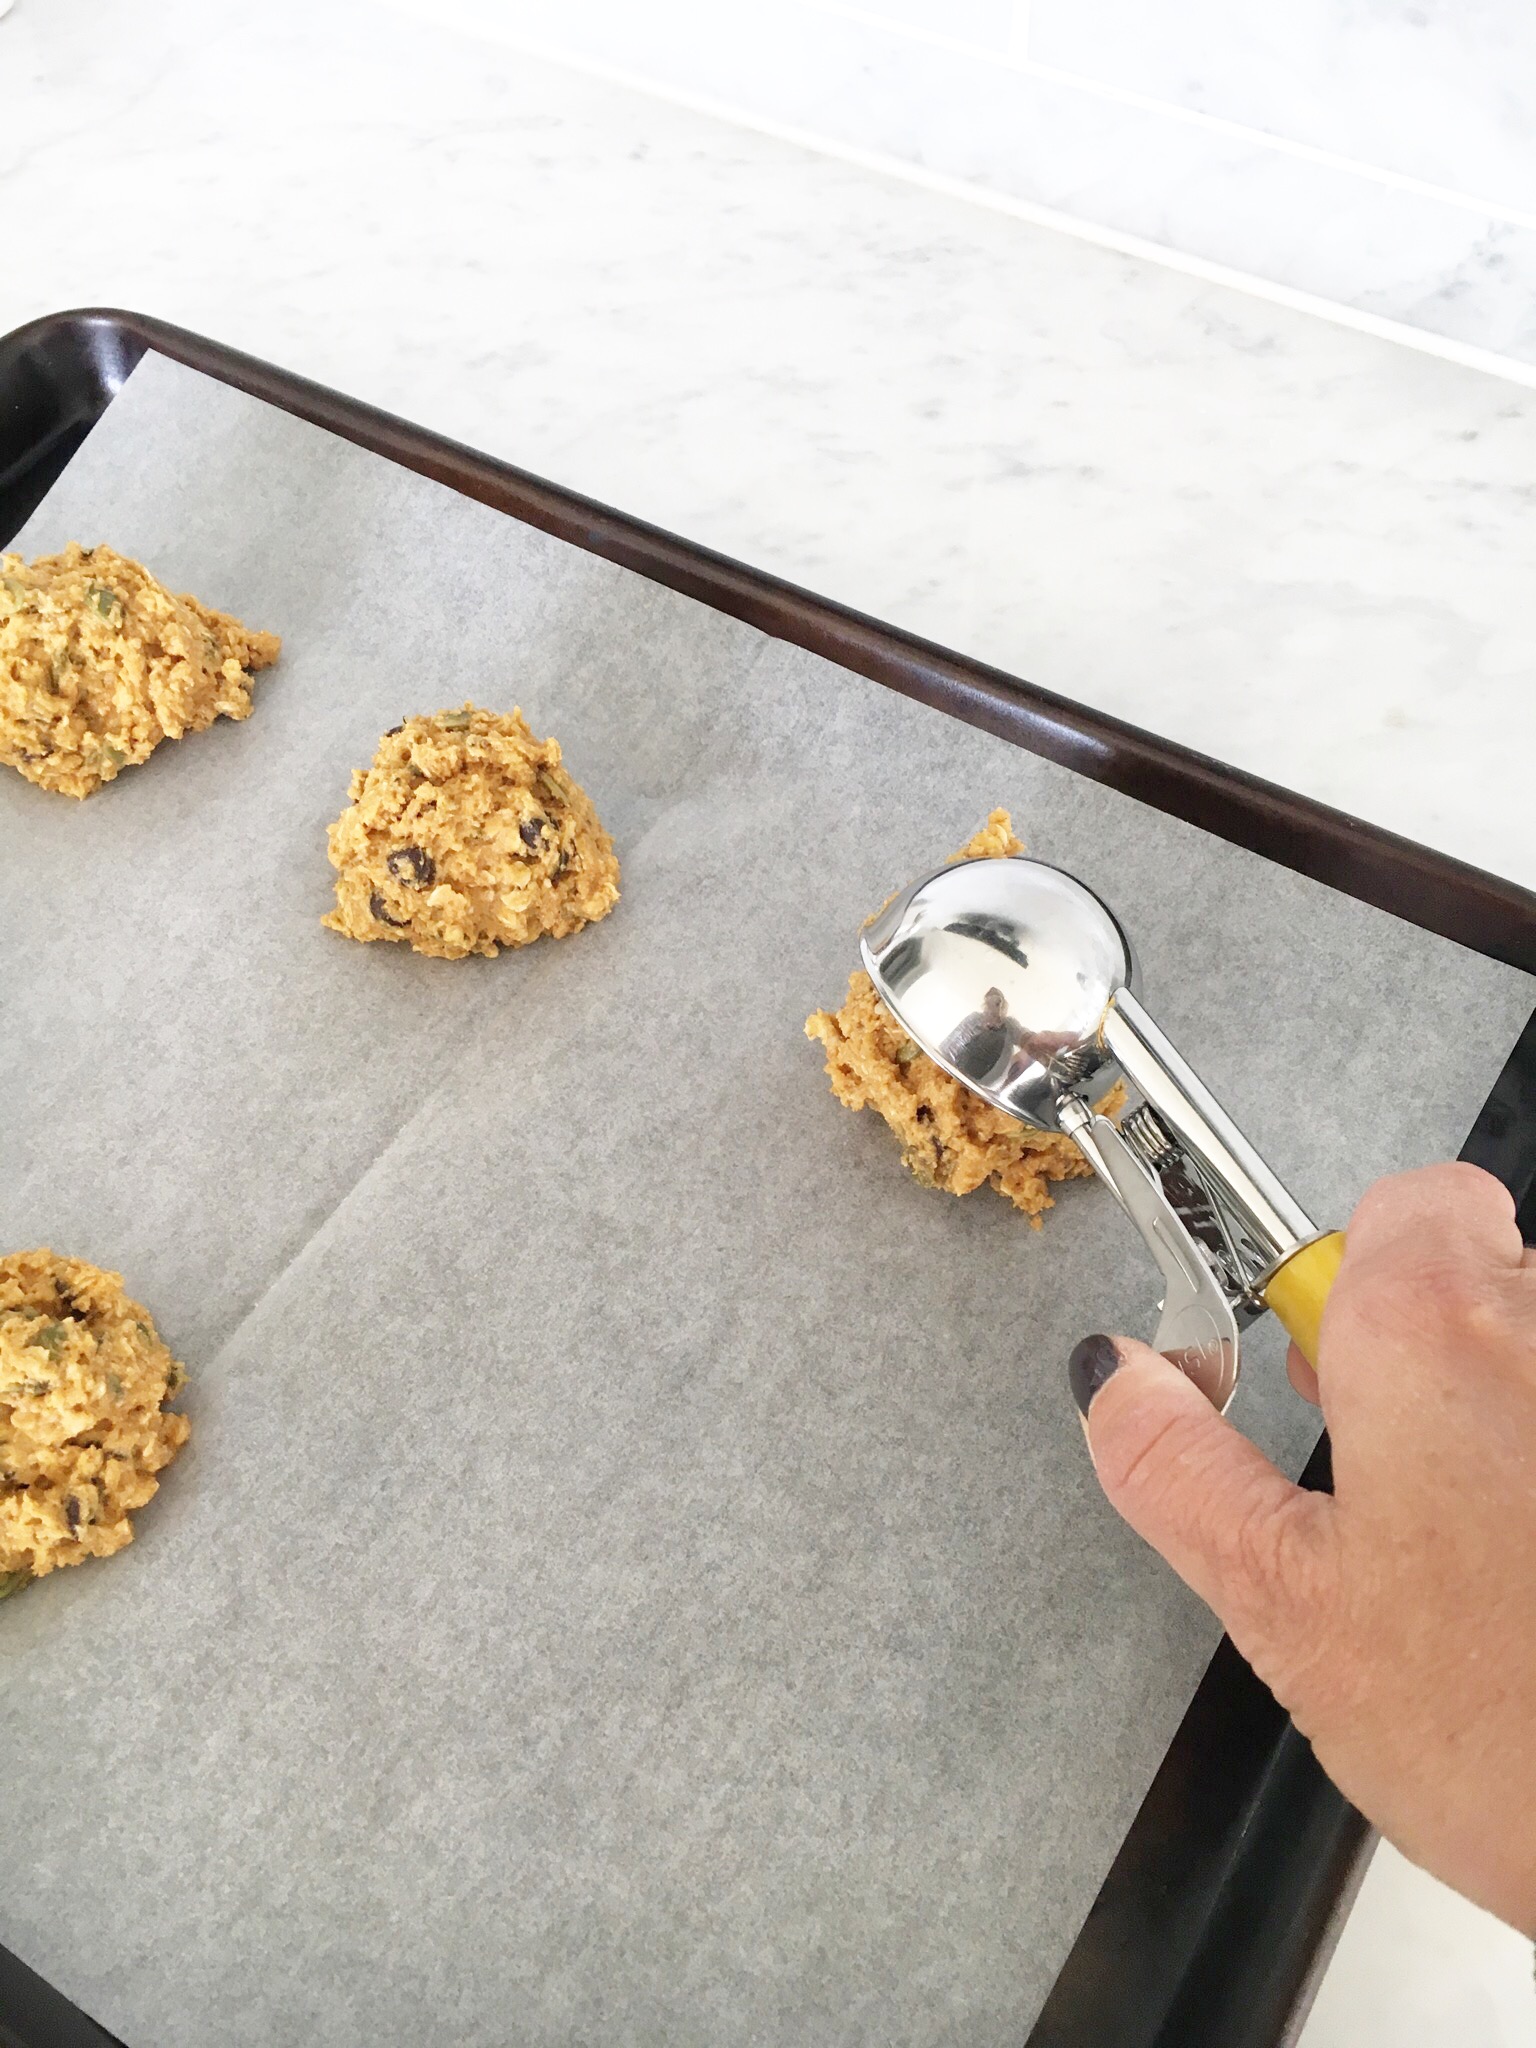
- Use an ice cream scoop to form balls of cookie dough and release them onto the cookie sheet. Flatten them slightly into the shape you want as they will not spread out much.
- Leave at least 1 inch between the cookies.
- Bake cookies for 6-7 minutes, flip the pan and bake approximately 6 minutes more until the bottoms start to brown.
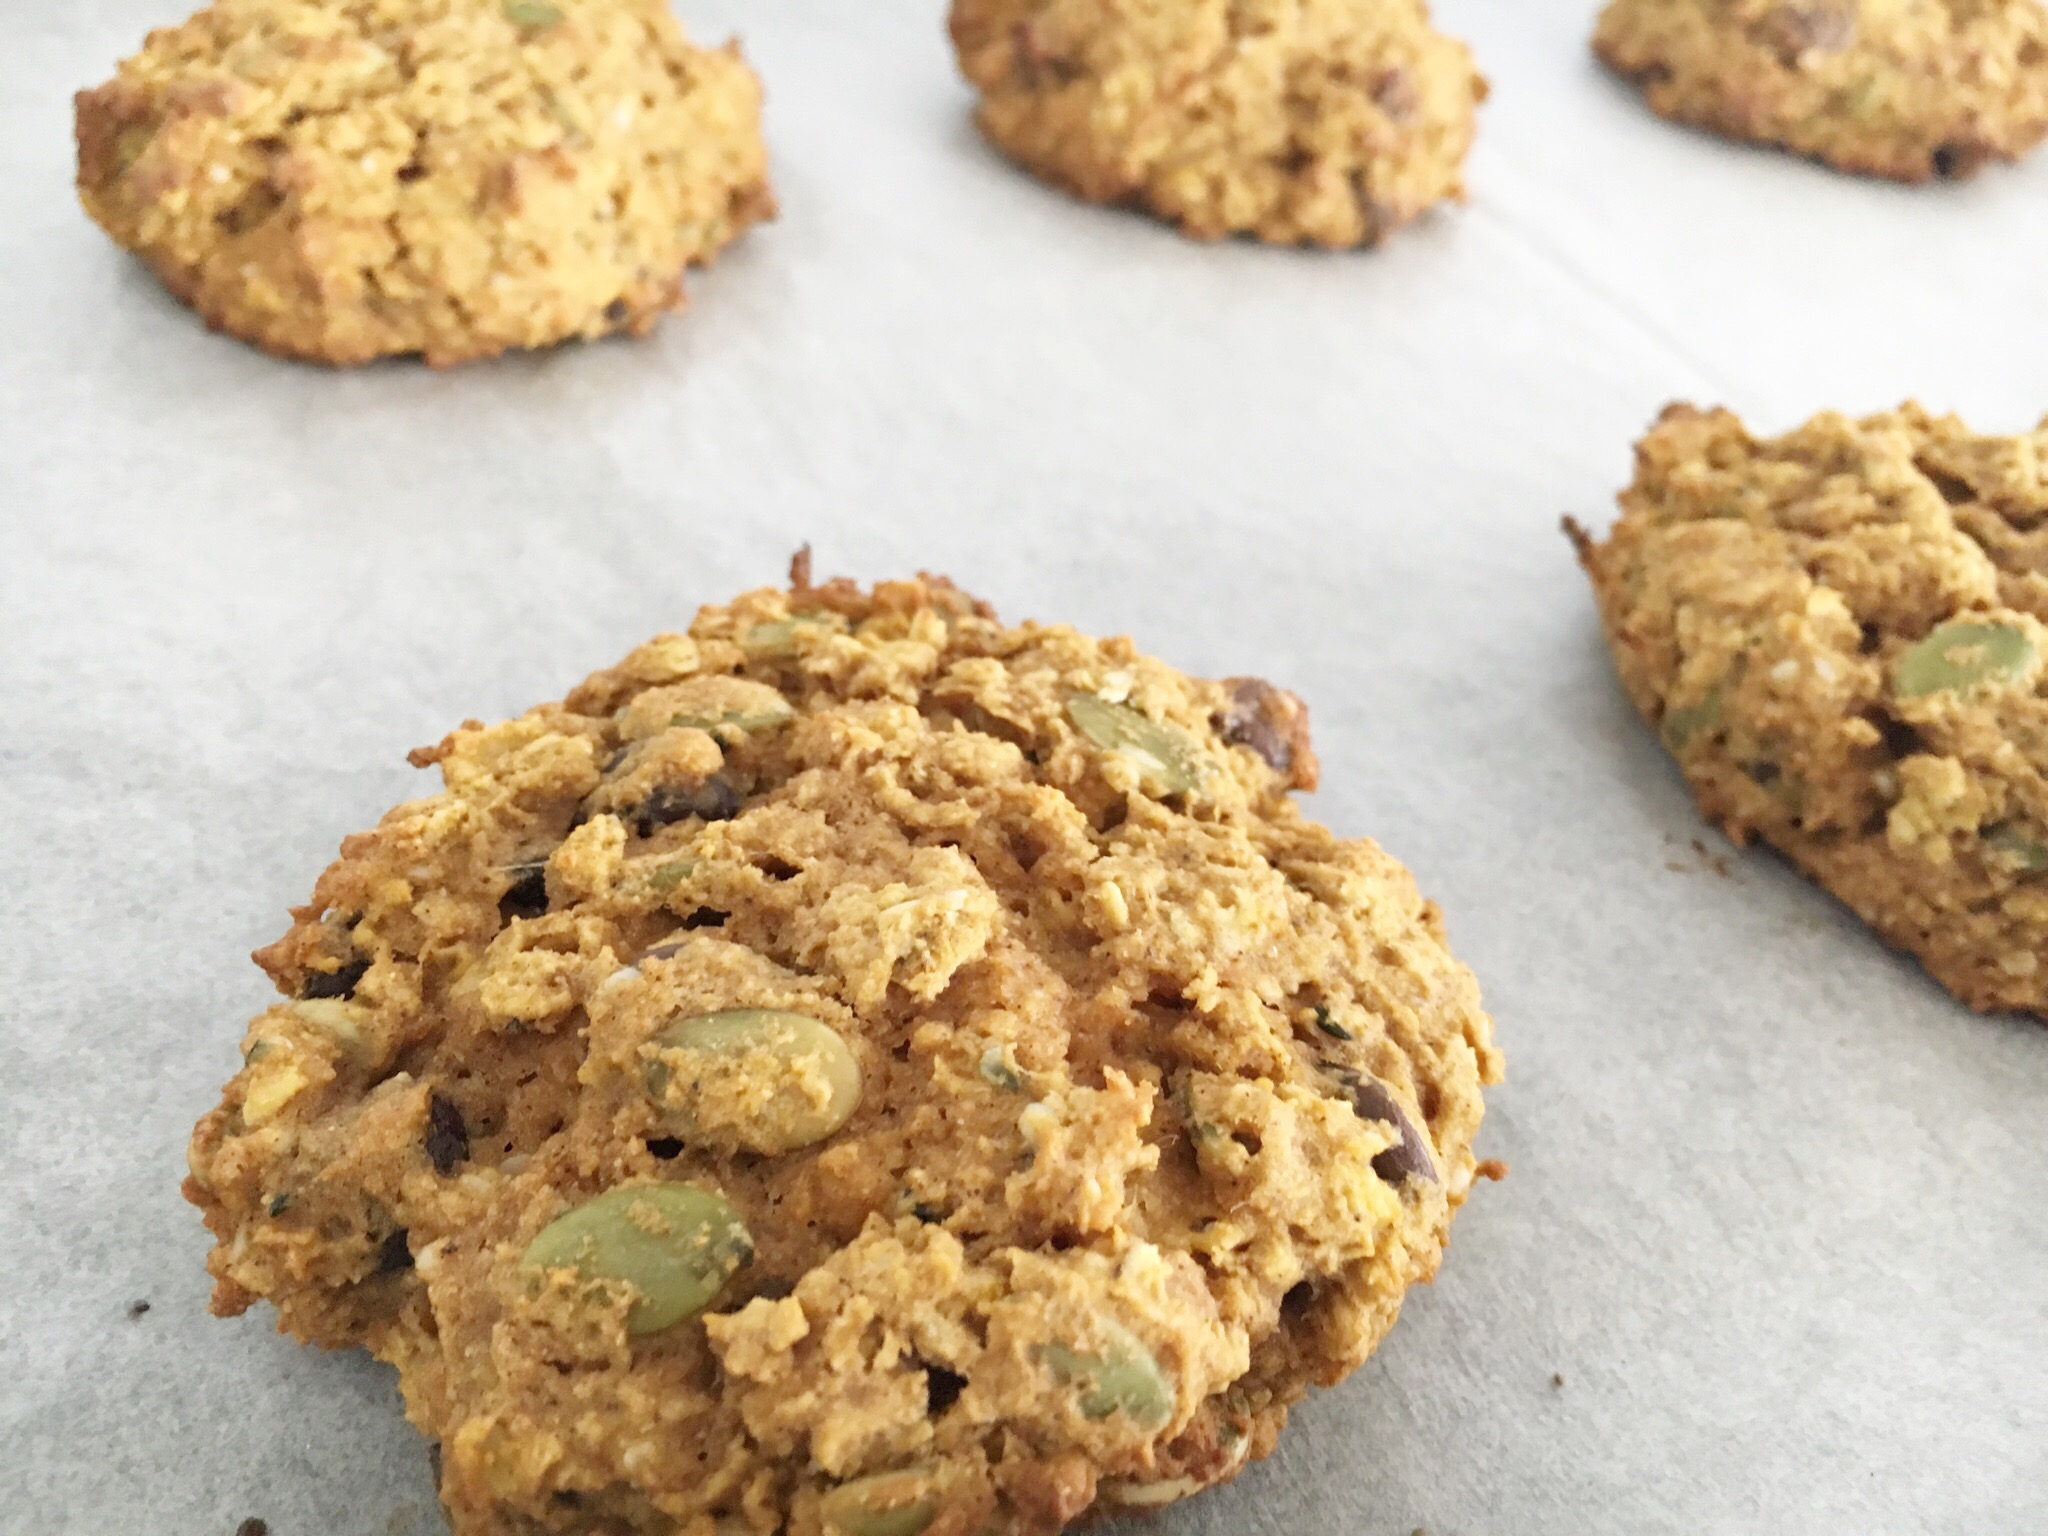
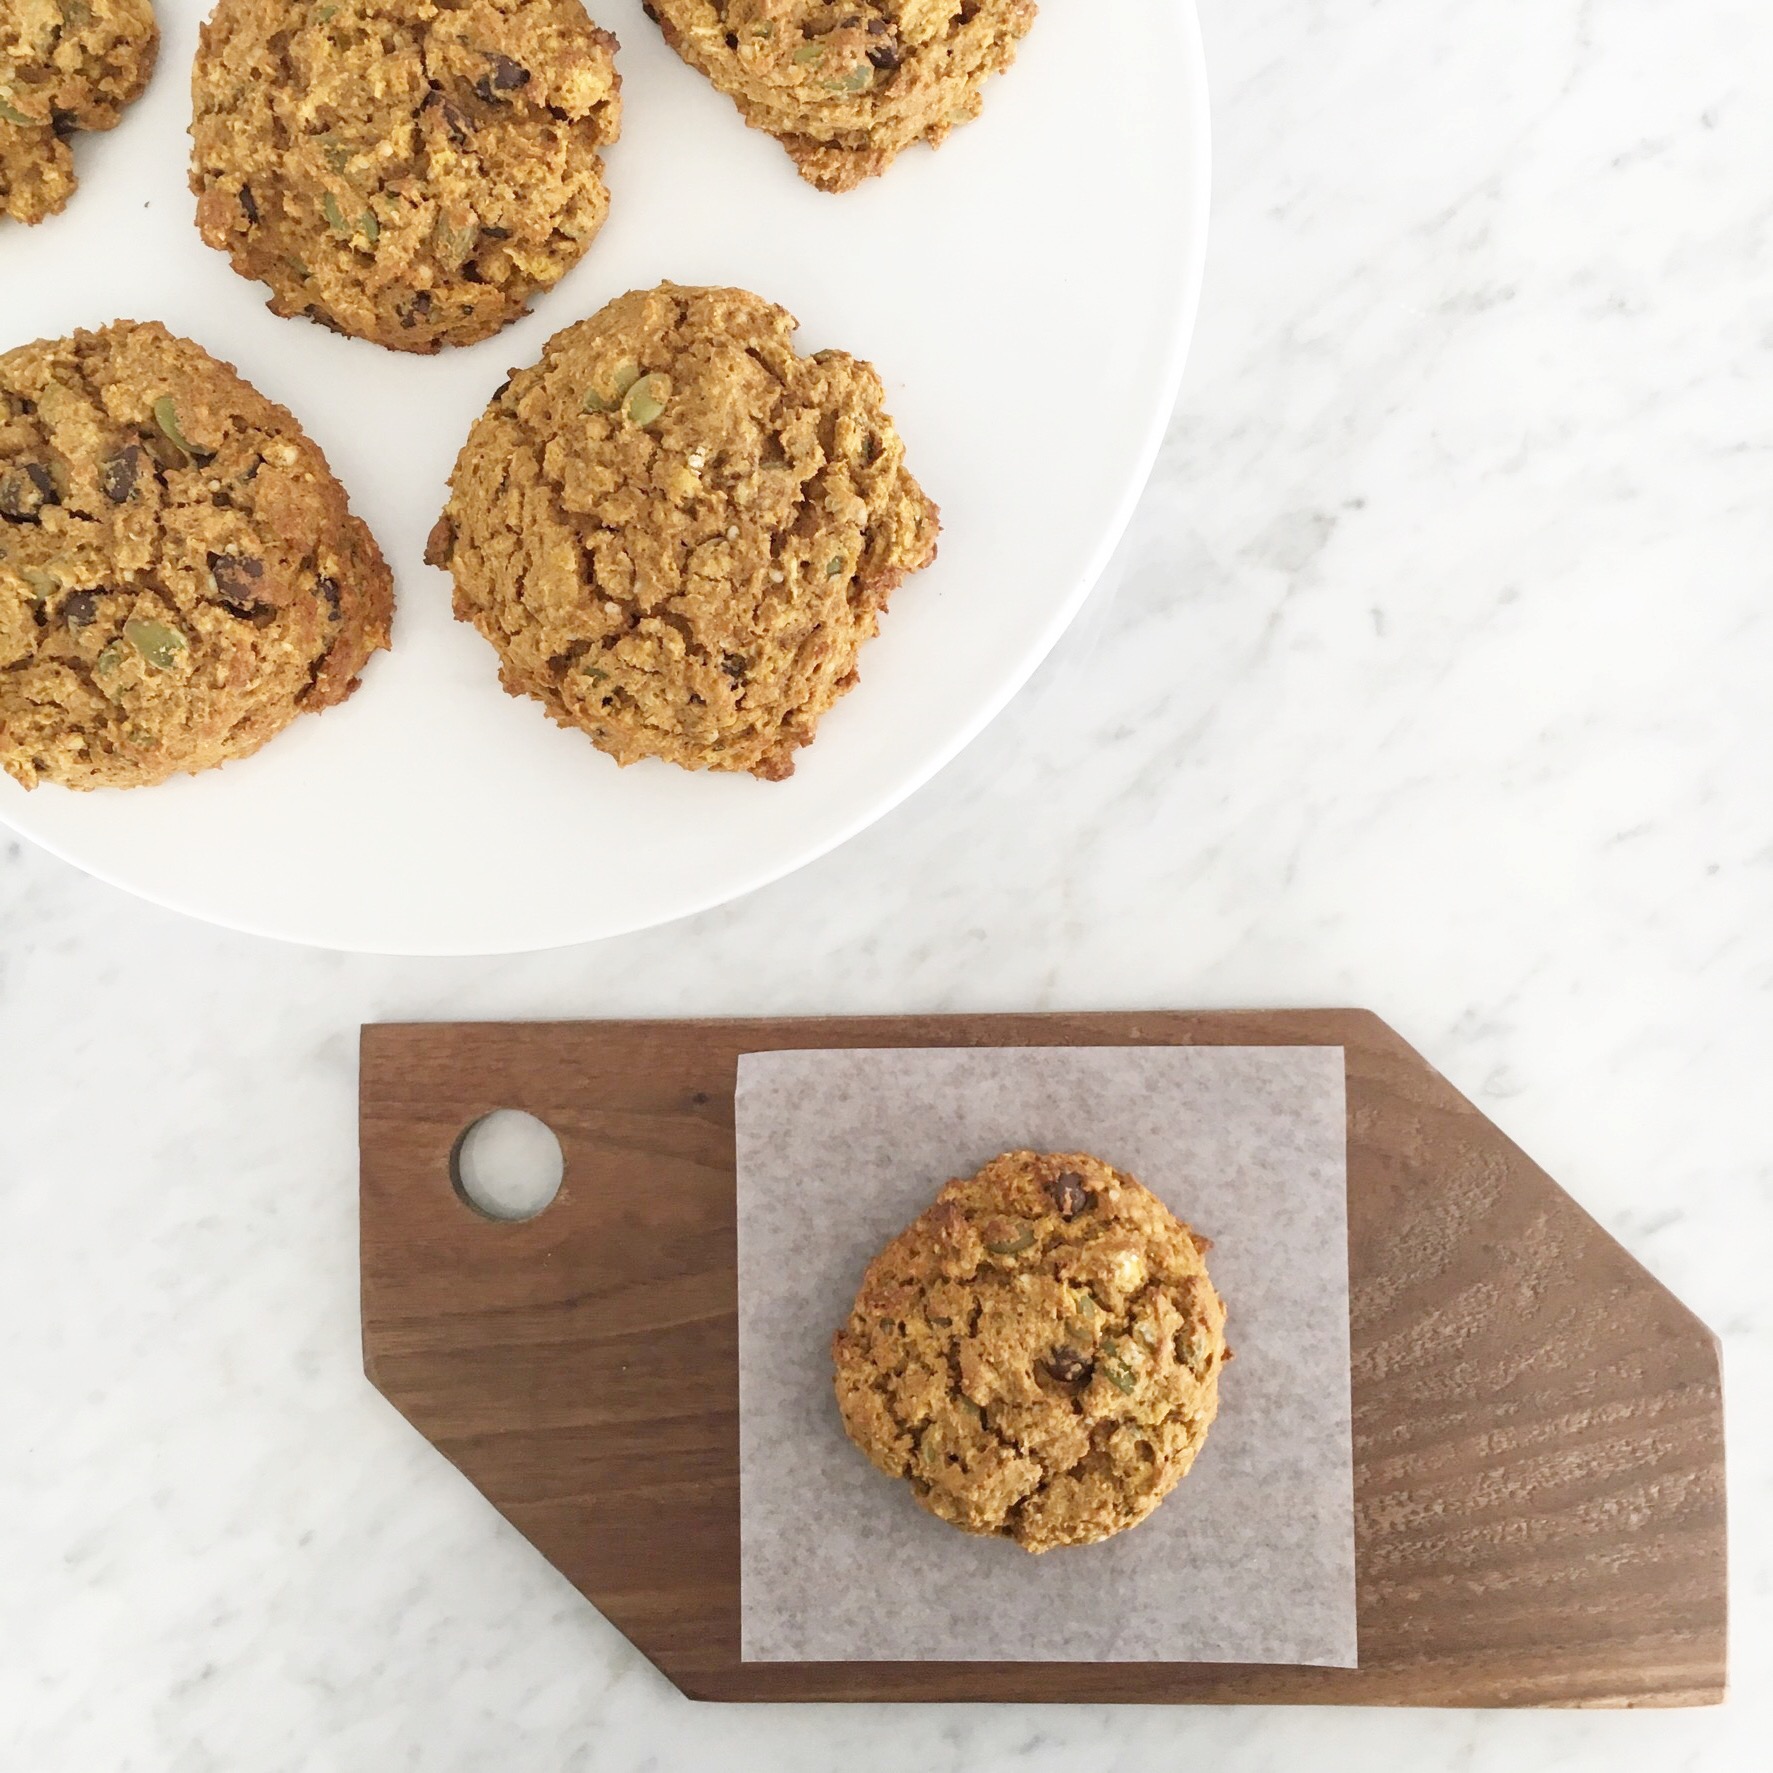
When I tested these, I was going to have just half a cookie, but I couldn’t stop myself from eating the other half too! They are super delicious and I’m sure will be a lunch box fave.